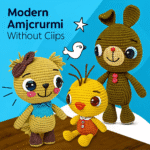
Волшебное Кольцо Амигуруми
There are different kinds of rings: precious rings, wedding rings, and we have a magic ring!
The beginning of beginnings — a magic ring, [magic loop] or [slip knot]. The value of the magic ring is that it allows you to adjust the opening with the tip of the thread and add the right number of loops from the very beginning, creating a tight and neat start without a “hole” in the fabric of the toy.
Why is it called “magic”?
The name is justified: with the help of a magic ring, you can create a perfectly even circle for the head, torso, or paws of a toy. As if by magic, a neat beginning appears from an ordinary loop, without seams and unnecessary holes.
How to knit a magic ring correctly?
Here is a step-by-step guide to creating the perfect magic ring:
- Create a loop: Wrap the yarn around your index and middle fingers to form a loop. Cross the thread so that the working thread passes over the loose thread.
- Grab the working thread: Insert the hook under the bottom thread and grab the working thread.
- Pull the loop: Pull the working thread through the loop on your fingers to form the first air loop.
- Work the stitches: Begin working single crochet (or other stitches as patterned) directly into the ring.
- Close the ring: After 6–8 stitches, gently pull the loose end of the yarn to close the ring, closing the hole.
- Finish the row: Work a slip stitch into the first stitch to finish the first row.
Tips for successful knitting
- Don’t pull too tight: A tight ring will make knitting more difficult.
- Hold the loose end of the yarn: It should be long enough to pull the ring tight.
- Practice: Mistakes are part of learning.
- Use a stitch marker: Mark the first stitch so you don’t lose the beginning of the row.
- Experiment with yarn and hooks: Different combinations affect the ease of knitting.
- Watch video tutorials: This will help you master the technique faster.
Why is a magic ring the best choice for amigurumi?
- [Prevents holes]: The filling does not come out.
- [Ensures a neat appearance]: A perfectly even circle without seams.
- [Allows you to control the size of the beginning]: You can adjust the tightness of the ring.
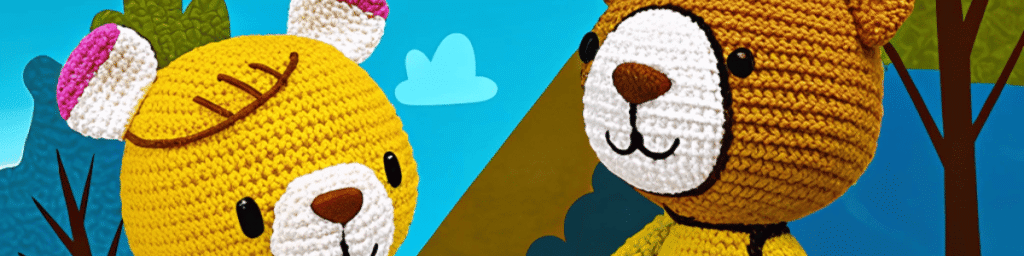
Once you master the magic ring, you can create neat, professional-looking toys that will delight you and your loved ones.
Secrets of the perfect magic ring
- [Grasping the thread correctly]: The main secret is to create a loop that is easy to tighten but does not loosen. Try wrapping the thread around your fingers different numbers of times to see what works best for your yarn.
- [Knitting density]: Avoid rings that are too loose or too tight. The correct thread tension will help you achieve the desired density.
- [Knitting columns]: It is important to insert the hook under both strands of the loop and not pull them too tight. Pay attention to the direction of knitting.
- [Using a marker]: A marker for the first stitch will help you keep track of the beginning of the row, especially if you are knitting in a spiral.
- [Practice and patience]: Don’t worry if you don’t get it right the first time. Mastering the technique takes time.
Adapting to different types of yarn
- [Cotton]: Cotton yarn holds its shape well, and the ring will turn out neat.
- [Acrylic]: Acrylic can be more slippery, and you may need to reduce the tension of the thread or use a hook that is half a size smaller.
- [Fuzzy yarn]: For fuzzy yarn, it is important to practice well in order to get a feel for the thread.
Conclusion
The magic ring is not just a technique, it is the basis of all your amigurumi work. Once you have mastered it, you will be able to create toys with a professional and neat appearance. Don’t be afraid to experiment, try new approaches, and most importantly, enjoy the process! Professional toys that will delight you and your loved ones. Grab your hook and yarn and start your knitting journey with a magic start!
Popular Products
-
 Товар99,00 ₴
 -
 Mug BHeart5,00 ₴
 -
 Phone Case Canvas9,95 ₴