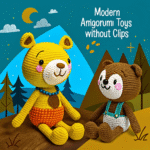
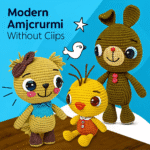
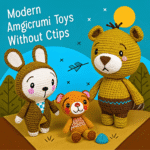
Техники крепления деталей в амигуруми: нитяное, шплинтовое и другие
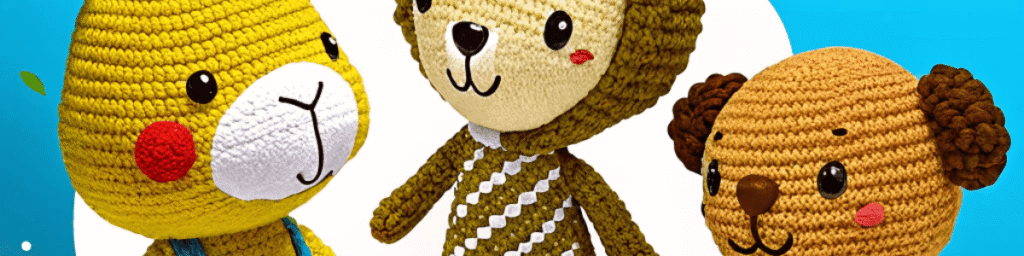
Personally, as a child, I always loved it when a toy had spinning paws, arms, or a head! Such a toy seems more “alive”, or something. I think that all children love this. In addition, with “moving” toys you can come up with more game options. But how to make sure that the paws and heads don’t just fall off during play? This is a whole art, where every loop matters, and every detail has its own character. And, of course, for your cute animal or character to come to life and become truly “alive”, it is important not only to skillfully knit its parts, but also to securely connect them. The durability, mobility, and, ultimately, the “soul” of your amigurumi depend on the fastening technique.
Let’s look at several well-known types of fastening in toy crafts.
Thread fastening: A time-tested classic
[Thread fastening] is perhaps the most common and accessible way to connect parts in amigurumi. It is ideal for most cases where a strong and neat connection is required.
How it works:
Preparation: You will need a strong thread (often the same yarn as for knitting a toy, or a thinner but stronger thread), a needle with a wide eye (a special amigurumi needle or a regular darning needle).
Process:
- Mark the joint: Carefully place the piece on the main part of the toy to determine the optimal attachment point. You can use pins to fix the position.
- Pull the thread: Thread the needle. Start from the back of one of the pieces, passing the needle through several loops.
- Sew: Pull the needle through the marked place on the other piece, then return to the first. Repeat this process, sewing in a circle or along the edge of the piece. Try to make the stitches even and tight to avoid gaps.
- Strengthening: After you have gone around the entire perimeter of the piece, make a few additional stitches in the same places to strengthen the connection.
- Securing the thread: Make a knot on the back side by passing the needle through the loop several times. Carefully trim the excess thread.
Advantages of thread fastening:
- [Strength]: When done correctly, it provides a very secure connection.
- [Neatness]: Allows you to achieve a virtually invisible seam, especially if the thread color matches the color of the yarn.
- [Versatility]: Suitable for joining any parts: heads, paws, ears, tails, etc.
- [Availability]: Requires a minimum set of tools.
Tips for perfect thread fastening:
- Use a long enough thread so that you do not have to make many connections.
- Do not pull the thread too tightly so as not to deform the parts.
- If you are sewing parts of different colors, you can use a contrasting thread for a decorative effect.
- Important: If the toy is quite large, it is better not to use a thread fastening.
Splint fastening: The secret of mobility and interactivity
[Splint fastening] is a real find for those who want to give their amigurumi mobility and the ability to change the position of body parts. This is especially important for creating toys with rotating heads, paws or ears.
How it works:
Preparation: You will need a plastic splint (a special fastener for toys, which can be purchased in craft stores), a button or a bead for decoration, and a needle and thread.
Process:
- Preparation of parts: Before closing the part (for example, a paw), thread the splint through it so that its ends come out in the place of the future attachment.
- Attaching to the body: Attach the part with the splint to the body of the toy. Pass the ends of the splint through the body and secure them on the reverse side with a button or bead. This will allow the part to rotate.
- Additional fixation: For reliability, you can additionally sew the part along the edge with a thread to the body, but so as not to interfere with rotation.
Advantages of splint fastening:
- [Mobility]: Allows parts to rotate, which makes the toy more interactive and interesting for games.
- [Reliability]: With proper fastening, the parts hold securely and do not fall off.
- [Aesthetics]: Buttons or beads used for fastening can serve as an additional decorative element.
Tips for perfect splint fastening:
- Choose splints of the appropriate size so that they are not too long or too short.
- Make sure that the splint does not have sharp edges that could damage the yarn or be dangerous for the child.
- For additional security, you can use a lock washer on the inside.
Splint fastening, in turn, opens the door to the world of mobile toys, allowing the parts to rotate and giving them life. The choice of technique depends on the desired mobility, the size of the parts and the age of the future owner of the toy. Having mastered these methods, you will be able to create not just knitted figures, but real, durable and interactive friends. Experiment, combine techniques and give the world your unique amigurumi!
Summary:
For my “creations” I most often use plastic joints or splint fastening. And buttons can be sewn on top for decoration. I think this is reliable. What you will use is up to you.
Popular Products
-
 Товар99,00 ₴
 -
 Mug BHeart5,00 ₴
 -
 Phone Case Canvas9,95 ₴